Pages

Showing posts with label Yum. Show all posts

Friday, April 12, 2013

Happy National Grilled Cheese Day!!

image source: ilovegrilledcheese.com


Did you realize that today is national grilled cheese day?! It's definitely worth celebration, in my personal opinion :). If you're not in the mood for the classic cheese and bread combo you should try these variations to join in the fun!


Or the 5-Minute Fancy Grilled Cheese, with red peppers and swiss!


Lastly, for a little southwestern flair, a Chipotle Avocado Grilled cheese.


I hope everyone has a delicious national grilled cheese day!

~Allison


Tuesday, February 12, 2013

Homemade Chocolate Dipped Strawberries!

 
My little princesses were feeling left out of all the crafting fun, so my brilliant mother in law decided they should make chocolate dipped strawberries and pretzels(since my 2yr old is allergic to strawberries).


 Here's the result!

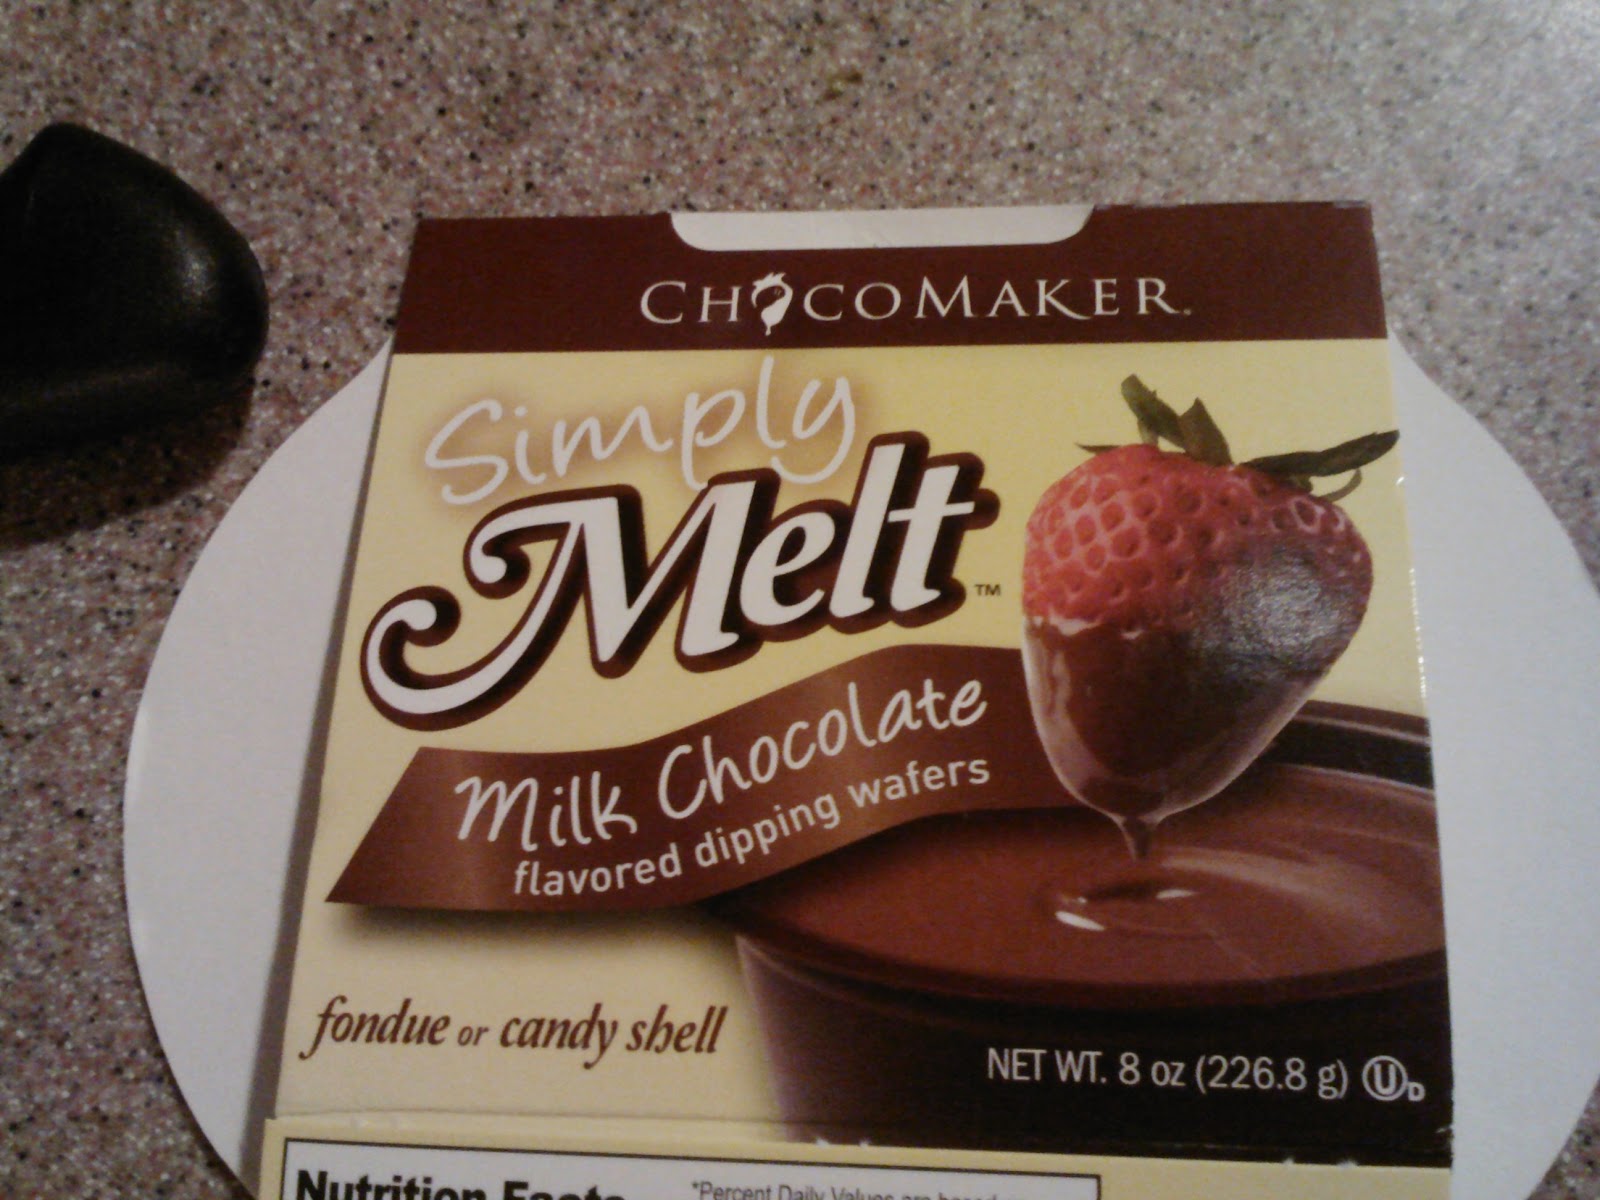
We used these really neat microwavable chocolate dipping cups. They were really easy and each one of them did quite a few strawberries and pretzels, even with little fingers dipping a little bit more than needed.

My oldest princess was a total mess, it was a good thing she was wearing one of daddy's shirts!

The little princess was more into eating all the pretzels she dipped instead of letting them harden to give as valentines to other people.

My sister in law was there to help with the strawberries and the ones that she made were really pretty with the drizzle of white chocolate over for decoration.

It was a total success, we have some very happy and sticky little girls as a result and a table full of chocolate goodness!

Poor little guy didn't get to play in the chocolate, but he got to try a chocolate dipped Cheerio.

The strawberries turned out great and were delicious (of course). We've already given some to various people and they've been so excited to get the yummy treats made by two little sweet girls.


 ~Allison

Monday, February 4, 2013

Little Hugs and Kisses Cookies


Typically, my family makes these cookies for Christmas, but I LOVE them! And these are perfect to give out as Valentines because they've each got a hug or a kiss on them.

I adapted my recipe from this one here.

Ingredients:

~2 Cups All Purpose Flour
~1/4 Cup Milk
~3/4 Tsp Baking Soda
~1/2 Tsp Salt
~1 Stick Softened Butter

~1 Cup Packed Brown Sugar
~1 Tsp Vanilla Extract
~2 Large Eggs
~1 Cup Chopped Nuts (optional)
~1 Bag of Hershey's Kisses and Hugs

Cream butter and sugar together until light; add vanilla and eggs, beat well.


Dissolve soda in milk; add flour, salt, and nuts.


Drop rounded teaspoons, no bigger than the size of a quarter, onto a greased cookie sheet 2 inches apart

Put your cookies in the oven for 8 to 10 minutes, until lightly brown.

About 1 minute before the cookies are done, put your kisses right in the middle of each cookie and press lightly. The hugs will melt too quickly if you put them on before their done, so you should wait until you take your cookies out to put your hugs on.


Once they're completely done the kisses and hugs should maintain their shape but be bonded to the cookie. Now enjoy, or wrap your cookies and give them to someone who needs a kiss or a hug!


I have two little girls that approve of these little hugs and kisses cookies!

~Allison

Tuesday, September 11, 2012

Grilled Cheese Pizza!!

I have to tell you that this is probably the easiest, most rewarding dinner that you can make for your family. It's a good way to use random things to make something yummy that everyone will enjoy and devour.

Here's what you'll need:


-Pizza Crust (I just happened to have some mini pizza crusts in the freezer, but regular size works fine too)
-Pasta or Pizza sauce 
-Sliced Cheese (mine were american & american white)
-Shredded Cheese of your choosing (optional)
-Italian Seasoning (optional)

Before you start, preheat your oven to the temp that you pizza crust suggests, mine said to bake at 450*F. Now you can start assembling your pizza(s)!

1st
Add your sauce and spread a thin layer until you have the amount you think is appropriate.


2nd
Take your slices of cheese, tear apart and place on your sauce. Looking yummy already!


Steps 3 & 4 are optional
At this point your pizza can just go in the oven to get all melty and delicious, but I've found that I prefer to put Italian seasoning and shredded cheese on top of the slices just to make it that much tastier.


Now put your pizza in the oven for around 5mins. I say around because I never actually use a timer I just watch until the cheese starts to bubble and by then it's ready. 


This is the best part of the whole process; once your pizza has cooled for a few mins slice it up and you're ready to enjoy. To me, it tastes like grilled cheese and tomato soup in pizza form. I hope you like it as much as my family and I do!

~Allison~