
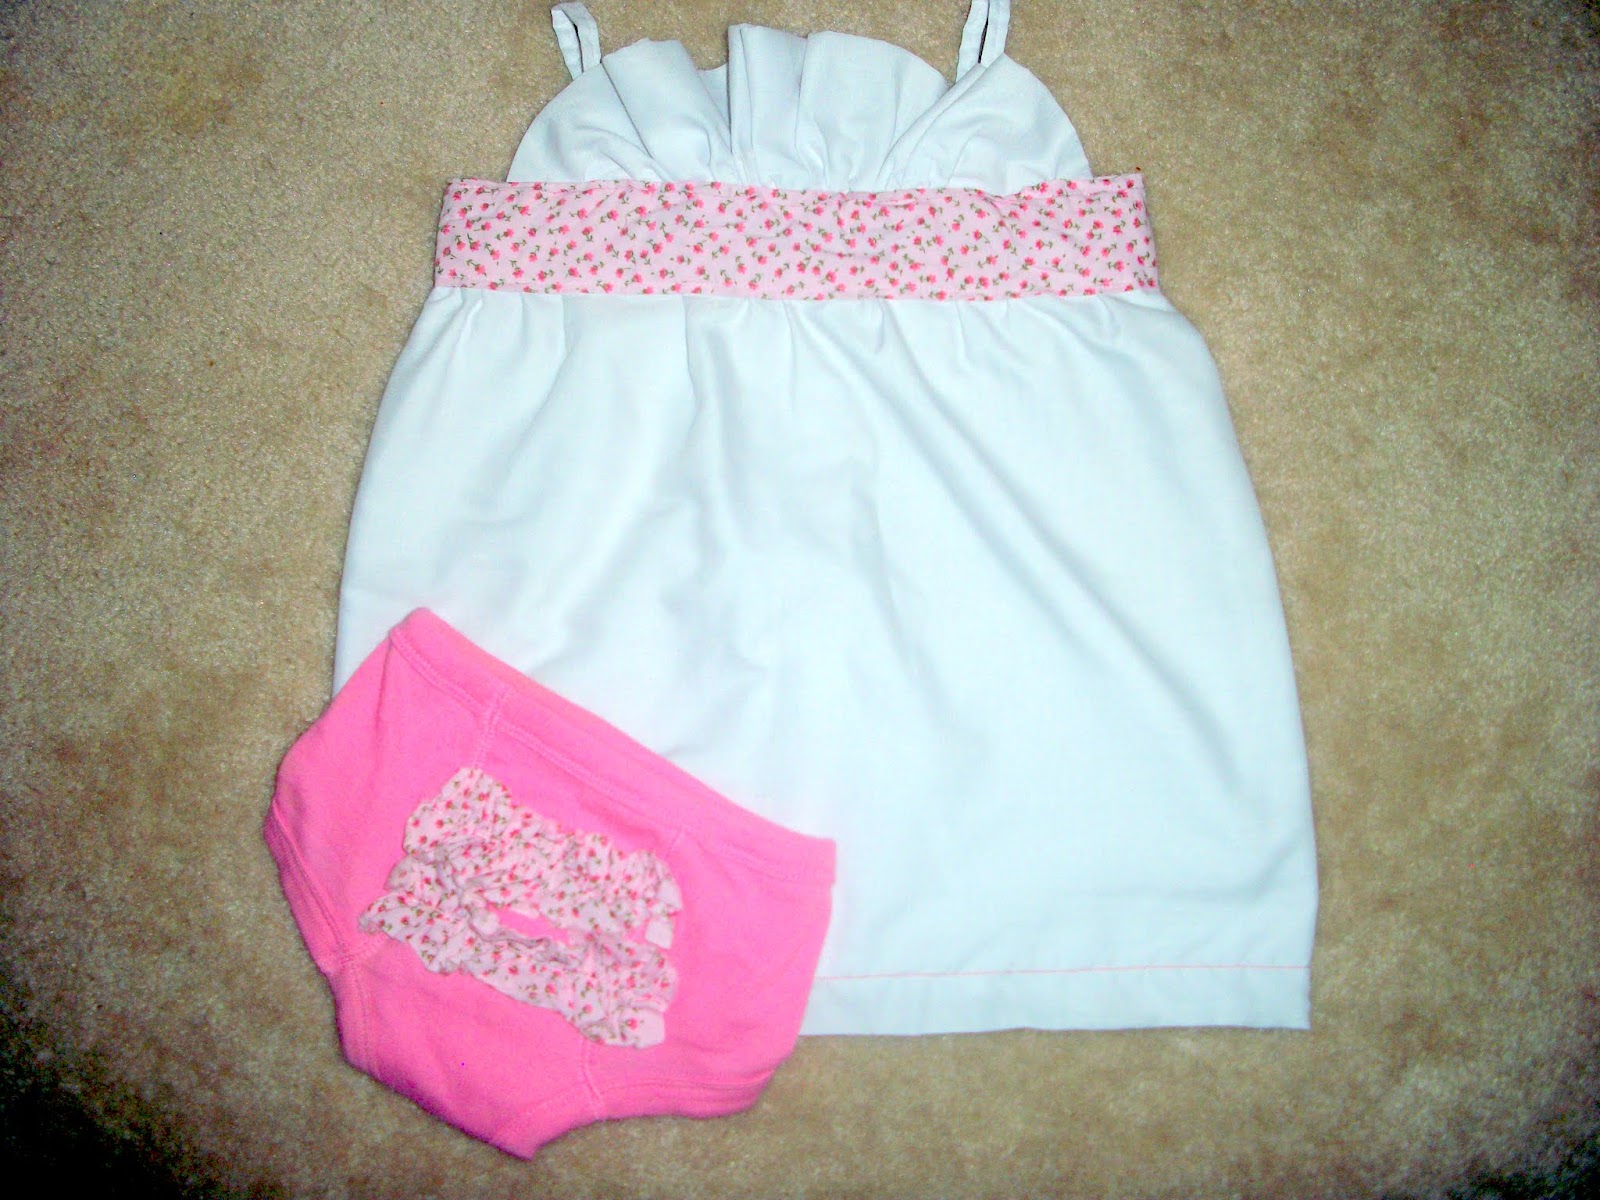
I just made a simple dress with some pre-made panties embellished with ruffles on the rear. If you'd like to see how I did it keep reading.
The first thing you need to do is assemble your supplies. Here's what I used for a 2T size:
~1 yard of main fabric
~accent fabric the same width as your fabric(optional)
~sewing machine
~thread
Now the first thing I did was take my daughters measurements from under her arms, over her shoulders and from her shoulder down to her knee. These will be used for the width of your dress, length of the straps, and the length for the main dress.
After you take your measurements, fold your main fabric in half lengthwise so you have a long rectangle and cut to the length that you require on the long open edge. Leave the short sides and the long bottom fold intact and do not cut your width at all, we'll address that later.
Once you've done this you'll need to make sure your fabric is right sides together and sew along the long open edge to make a tube of fabric.(This is actually optional you can easily make the dress with just a long piece of fabric cut to length and not folded, but my fabric was a little sheer and I like not having to worry about hemming.)
Since you have your tube sewn you'll need to turn your fabric right side out and finish the open sides with either a zigzag stitch along the very edge of your fabric, or a serger. This will ensure that your fabric doesn't fray and it makes everything look more polished.


Now that you've done your back seam, you'll want to ensure that it stay's tidy, so you can either top stitch on only the part you left un-sewn, or you can do what I did and sew along both sides of the seam all the way to the bottom of the dress. Either way you'll want to do this before you do your gathering stitch along the top.
To do a gathering stitch you set your machine to a basting stitch, or the longest stitch length you have on a straight stitch setting.

Once you've done this place your fabric under your presser foot and do a couple stitches DO NOT BACKSTITCH. After the first few stitches, grab your thread on top of your machine and adjust how tight you hold it based on how gathered you'd like your material to be. Make sure you leave extra thread when you cut it from your machine, in case you have to make adjustments.

It should look something like this ( I thought you might need to see how it's supposed to ruffle and forgot the take the picture of the actual dress, so this is some scrap fabric I had).

Time to add the straps, using your measurements take to thin pieces of fabric and iron each side toward the center, then iron in half. Now just sew down the open edge and you have your straps, and attach them to your dress.
What you have at this point is the skeleton of your dress, you can add all kinds of different embellishments that you'd like. I took some of my extra fabric from what I cut off the main piece and hemmed one edge, did a gathering stitch down the other side and attached it to the center front of my daughter's dress.
Once you've done this, you now need to add the band. I iron the band in the same manner as the straps, by taking from each of the long sides and ironing toward the middle on the wrong side of the fabric. Then just pin in place on your dress and top stitch around the top and bottom of the band. Once you get to the ends of the band, turn these under and top stitch these down as well, about 1/2 inch away from your opening in the back.
The only thing you have left to do is add a button and you're done!
Sorry this post was a little long winded, I'm sure things will improve the more tutorials I post.
~Allison~
No comments:
Post a Comment